Mad Max 2 / The Road Warrior Filming Locations
The Moat Jump Stunt
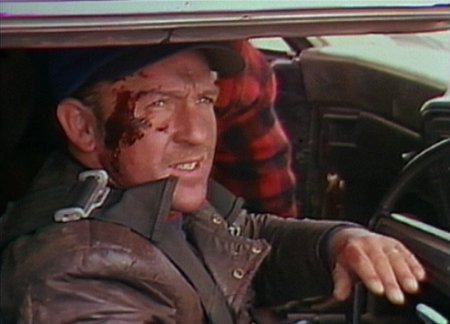
Stuntman Max Aspin (with makeup blood, not the real stuff!)
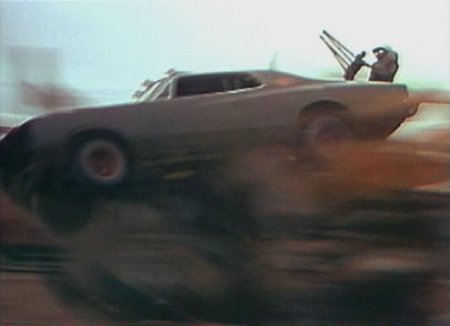
The setup for this stunt is that the marauders, driving a
modified Valiant Regal, are attacking Max as he attempts to deliver the rig, shooting out
the tyres. The Gyro Captain comes to the rescue however, dropping a snake onto the arrow
gun operator, causing him to misfire into the back of the driver, sending the car out of
control, and into the moat.
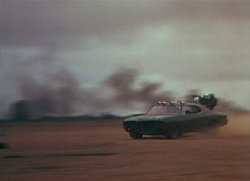
Approaching the ramp, and the jump itself
The ramp is set up at just the right height to send the car over a pile of wrecks
sitting in the moat, just clipping the top car as it goes over. The Valiant is supposed to
sail over the top fairly cleanly, and to a safe landing.
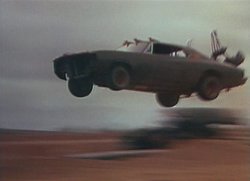
The Charger clips the wreck pile, and plunges
However, the stunt does not unfortunately go exactly to plan. The Valiant clips the
pile of wrecks a little harder than was intended, and doesn't end up landing as safely, or
softly, as it was supposed too.
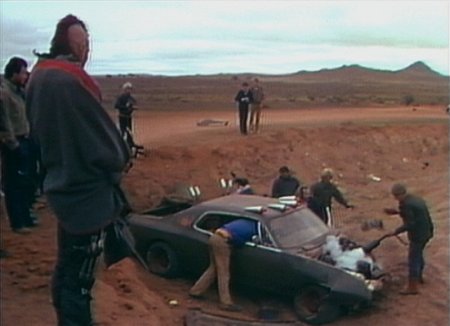
Max Aspin is pulled from the car, while the safety guys clean up.
Byron Kennedy (left of the Mohawker) watches on.
The car comes down harder than it is supposed to, apparently breaking Max Aspin's
leg. As with Guy Norris after the Cannonball Stunt, Max
makes the trip off set, and into hospital.
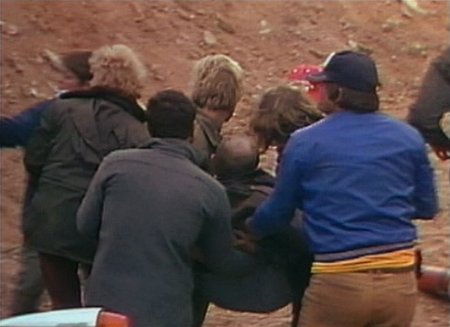
Max Aspin is carried off
Back to Mad Max 2 / The Road Warrior On Location